Download Java JDK 13
Launch your favorite internet browser, I am going to use Google Chrome to download Java JDK 14 from the following download link.
https://www.oracle.com/technetwork/java/javase/downloads/index.htmlClick JDK Download (JDK 13) Button

Now, scroll down, check “license agreement” radio button, and click the 2nd last Windows 64 bit exe file download link.

Let the download begin and wait until it completes the download. Once it is downloaded, locate the downloaded jdk exe compiled package and right click on it and open it.

Now, go with all the positive option like; allow, yes, next, install, finish.
Upon successful Java JDK 13 installation, you should get a successful installation window, now you can click finish.
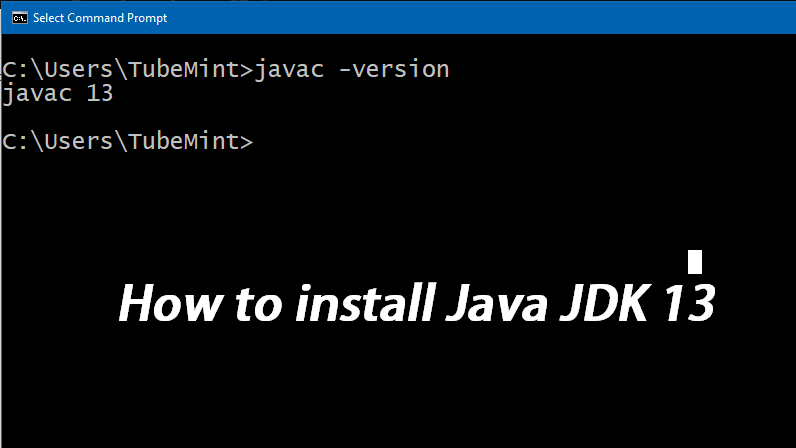
Launch windows command prompt and run the following command
javac -versionAdd Java JDK 13 to system path
You might get ‘javac is not recognized as an internal or external command” error message. This is happening because JDK is not added to system path when we install it on windows OS. We need to add it to system path manually.
locate the Java> JDK-13>bin
Launch your Windows file explorer and open C drive and look for “Program Files”, under program files look for “Java” now look for “jdk-13” now for ‘bin’ folder.

Copy the jdk-13 bin path.
Click the Windows’ start button and type ‘variables’

On this new windows, click “Environment Variables”

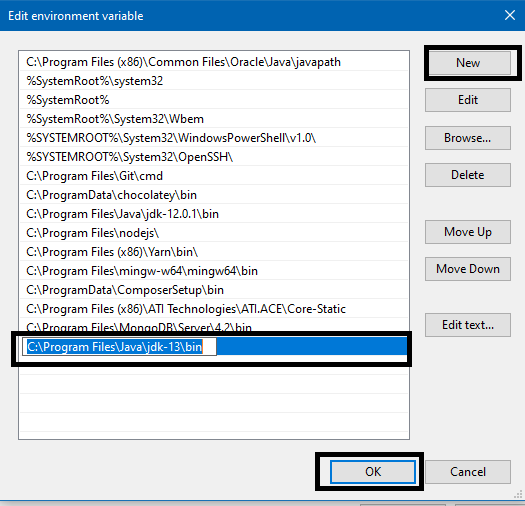
Under “System Variables” select “Path” and click “Edit”

Click “New” and paste the JDK bin folder path and click “OK”, “OK”, and “OK”..

Verify Java JDK on Command Prompt
javac -version
You should see something like this


.png)
0 comments:
Post a Comment
Note: only a member of this blog may post a comment.