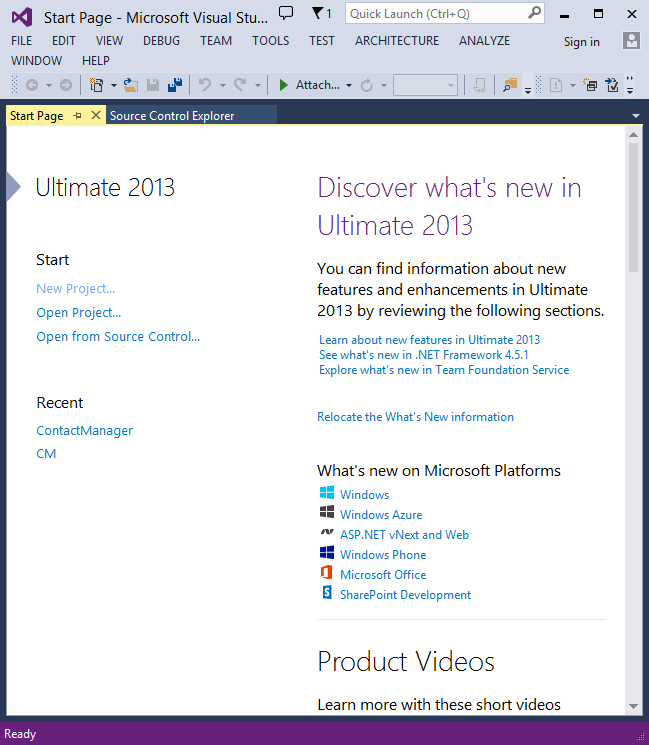
Click New Project from the Start page, or you can use the menu and select File, and then New Project.
Creating Your First Application
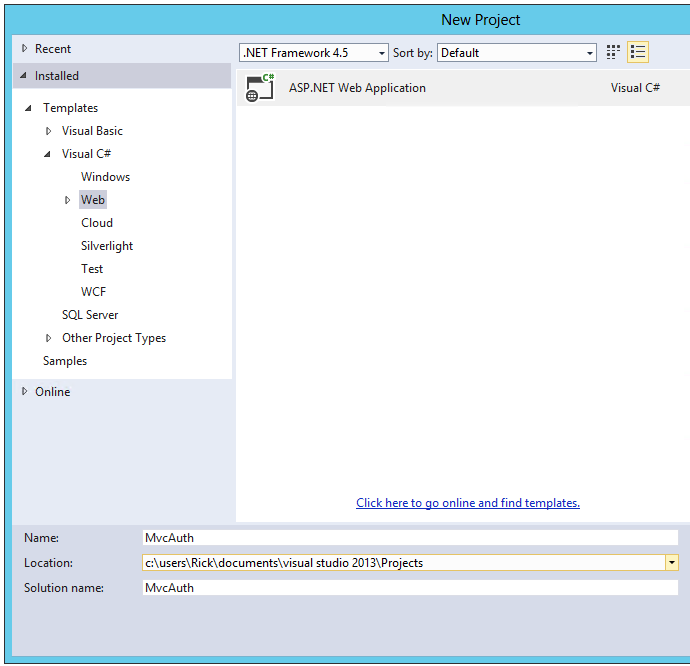
Click New Project, then select Visual C# on the left, then Web and then select ASP.NET Web Application. Name your project "MvcAuth" and then click OK.
In the New ASP.NET Project dialog, click MVC. If the Authentication is not Individual User Accounts, click the Change Authentication button and select Individual User Accounts. By checking Host in the cloud, the app will be very easy to host in Azure.
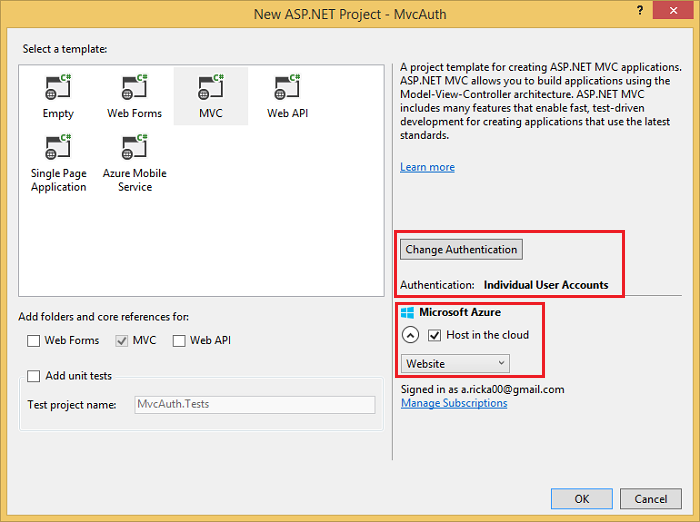
If you selected Host in the cloud, complete the configure dialog.

Use NuGet to update to the latest OWIN middleware
Use the NuGet package manager to update the OWIN middleware. Select Updates in the left menu. You can click on the Update All button or you can search for only OWIN packages (shown in the next image):
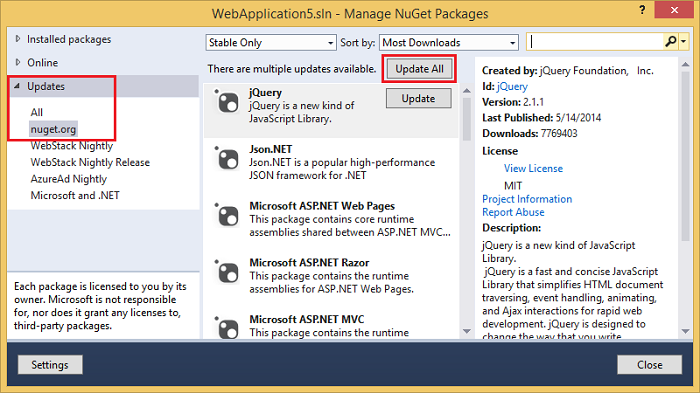
In the image below, only OWIN packages are shown:

From the Package Manager Console (PMC), you can enter the
Update-Package command, which will update all packages.
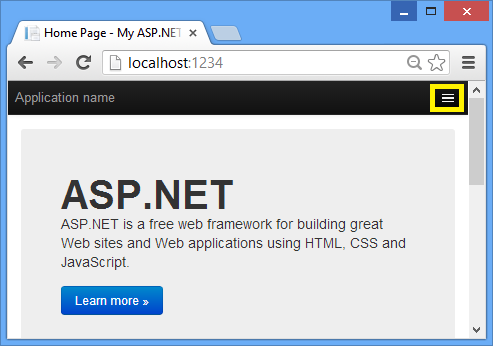
Press F5 or Ctrl+F5 to run the application. In the image below, the port number is 1234. When you run the application, you'll see a different port number.
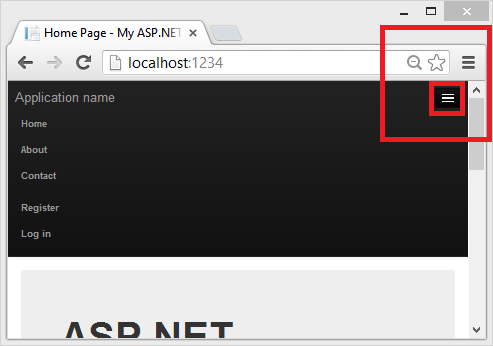
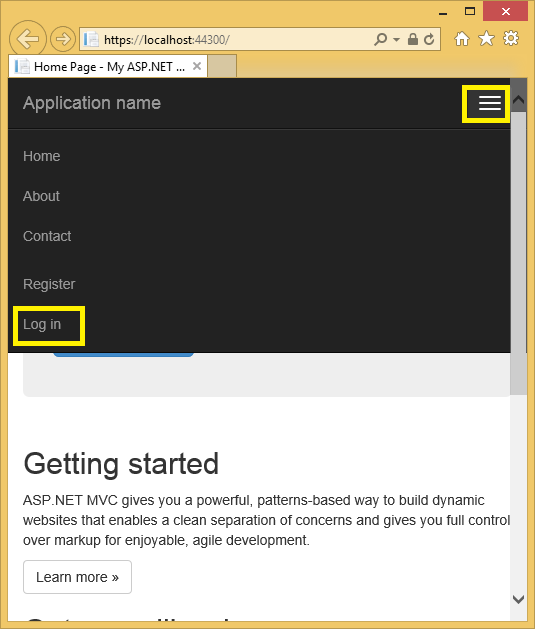
Depending on the size of your browser window, you might need to click the navigation icon to see the Home, About, Contact, Register and Log in links.
Setting up SSL in the Project
To connect to authentication providers like Google and Facebook, you will need to set up IIS-Express to use SSL. It's important to keep using SSL after login and not drop back to HTTP, your login cookie is just as secret as your username and password, and without using SSL you're sending it in clear-text across the wire. Besides, you've already taken the time to perform the handshake and secure the channel (which is the bulk of what makes HTTPS slower than HTTP) before the MVC pipeline is run, so redirecting back to HTTP after you're logged in won't make the current request or future requests much faster.2
- In Solution Explorer, click the MvcAuth project.
- Hit the F4 key to show the project properties. Alternatively, from the View menu you can select Properties Window.
- Change SSL Enabled to True.
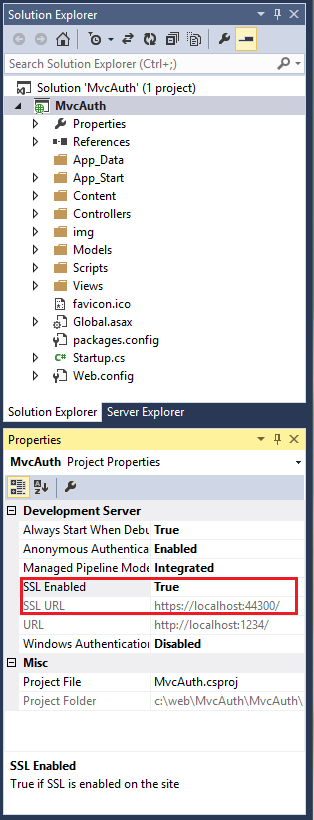
- Copy the SSL URL (which will be
https://localhost:44300/unless you've created other SSL projects). - In Solution Explorer, right click the MvcAuth project and select Properties.
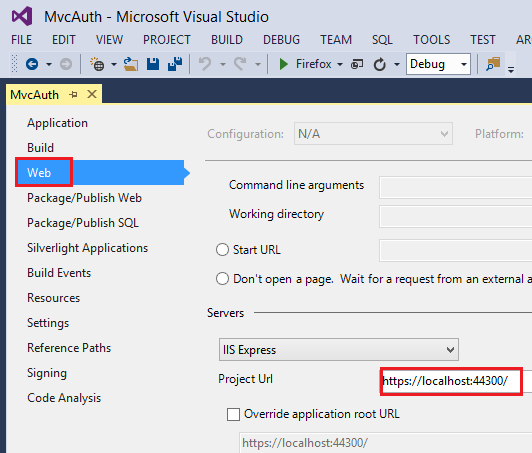
- Select the Web tab, and then paste the SSL URL into the Project Url box. Save the file (Ctl+S). You will need this URL to configure Facebook and Google authentication apps.
- Add the RequireHttps attribute to the
Homecontroller to require all requests must use HTTPS. A more secure approach is to add the RequireHttps filter to the application. See the section "Protect the Application with SSL and the Authorize Attribute" in my tutoral Create an ASP.NET MVC app with auth and SQL DB and deploy to Azure App Service. A portion of the Home controller is shown below.C#[RequireHttps] public class HomeController : Controller { public ActionResult Index() { return View(); } - Press CTRL+F5 to run the application. If you've installed the certificate in the past, you can skip the rest of this section and jump to Creating a Google app for OAuth 2 and connecting the app to the project, otherwise, follow the instructions to trust the self-signed certificate that IIS Express has generated.

- Read the Security Warning dialog and then click Yes if you want to install the certificate representing localhost.

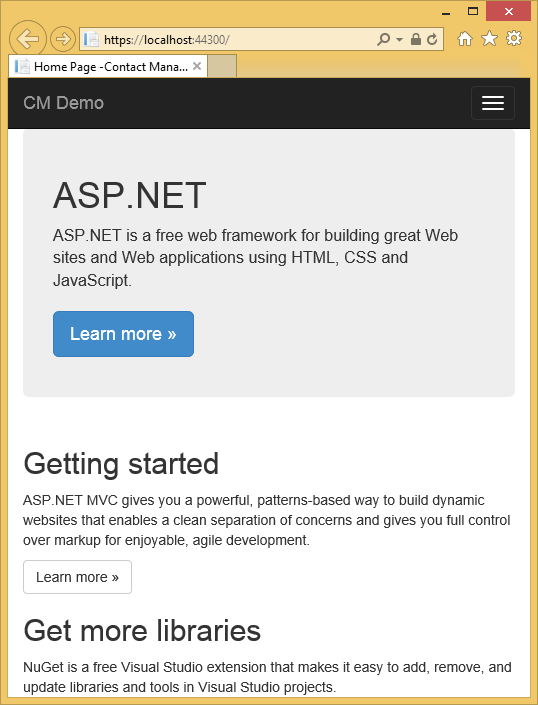
- IE shows the Home page and there are no SSL warnings.
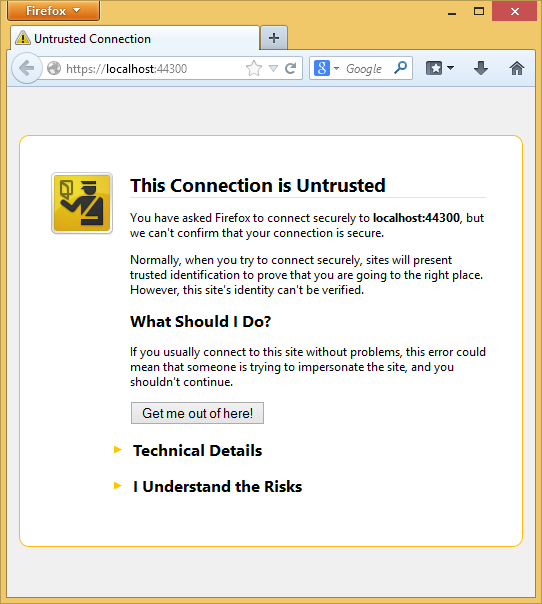
- Google Chrome also accepts the certificate and will show HTTPS content without a warning. Firefox uses its own certificate store, so it will display a warning. For our application you can safely click I Understand the Risks.
Creating a Google app for OAuth 2 and connecting the app to the project
- Navigate to the Google Developers Console.
- If you haven't created a project before, select Credentials in the left tab, and then select Create.
- In the left tab, click Credentials.
- Click Create credentials then OAuth client ID.
- In the Create Client ID dialog, keep the default Web application for the application type.
- Set the Authorized JavaScript origins to the SSL URL you used above (
https://localhost:44300/unless you've created other SSL projects) - Set the Authorized redirect URI to:
https://localhost:44300/signin-google
- Click the OAuth Consent screen menu item, then set your email address and product name. When you have completed the form click Save.
- Click the Library menu item, search Google+ API, click on it then press Enable.
 The image below shows the enabled APIs.
- From the Google APIs API Manager, visit the Credentials tab to obtain the Client ID. Download to save a JSON file with application secrets. Copy and paste the ClientId and ClientSecret into the
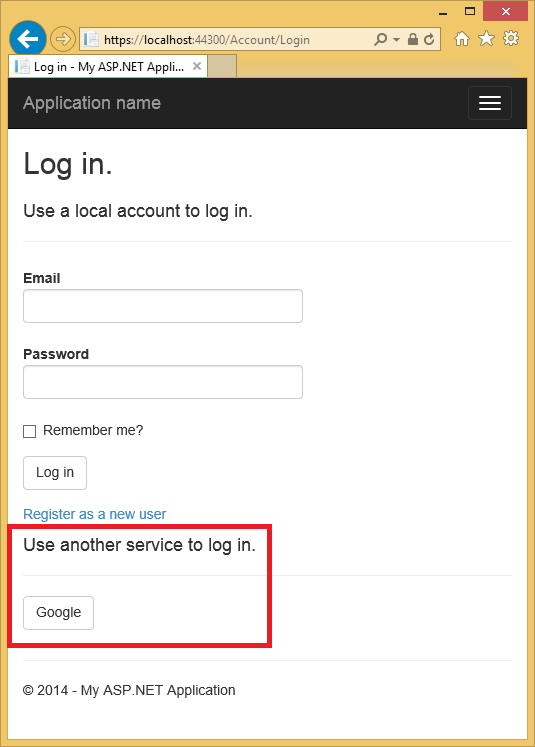
UseGoogleAuthenticationmethod found in the Startup.Auth.cs file in the App_Start folder. The ClientId and ClientSecret values shown below are samples and don't work.C#public void ConfigureAuth(IAppBuilder app) { // Configure the db context and user manager to use a single instance per request app.CreatePerOwinContext(ApplicationDbContext.Create); app.CreatePerOwinContext<ApplicationUserManager>(ApplicationUserManager.Create); // Enable the application to use a cookie to store information for the signed in user // and to use a cookie to temporarily store information about a user logging in with a third party login provider // Configure the sign in cookie app.UseCookieAuthentication(new CookieAuthenticationOptions { AuthenticationType = DefaultAuthenticationTypes.ApplicationCookie, LoginPath = new PathString("/Account/Login"), Provider = new CookieAuthenticationProvider { OnValidateIdentity = SecurityStampValidator.OnValidateIdentity<ApplicationUserManager, ApplicationUser>( validateInterval: TimeSpan.FromMinutes(30), regenerateIdentity: (manager, user) => user.GenerateUserIdentityAsync(manager)) } }); app.UseExternalSignInCookie(DefaultAuthenticationTypes.ExternalCookie); // Uncomment the following lines to enable logging in with third party login providers //app.UseMicrosoftAccountAuthentication( // clientId: "", // clientSecret: ""); //app.UseTwitterAuthentication( // consumerKey: "", // consumerSecret: ""); //app.UseFacebookAuthentication( // appId: "", // appSecret: ""); app.UseGoogleAuthentication( clientId: "000-000.apps.googleusercontent.com", clientSecret: "00000000000"); }WarningSecurity - Never store sensitive data in your source code. The account and credentials are added to the code above to keep the sample simple. See Best practices for deploying passwords and other sensitive data to ASP.NET and Azure App Service. - Press CTRL+F5 to build and run the application. Click the Log in link.
- Under Use another service to log in, click Google.
 NoteIf you miss any of the steps above you will get a HTTP 401 error. Recheck your steps above. If you miss a required setting (for example product name), add the missing item and save, it can take a few minutes for authentication to work.
 - You will be redirected to the google site where you will enter your credentials.
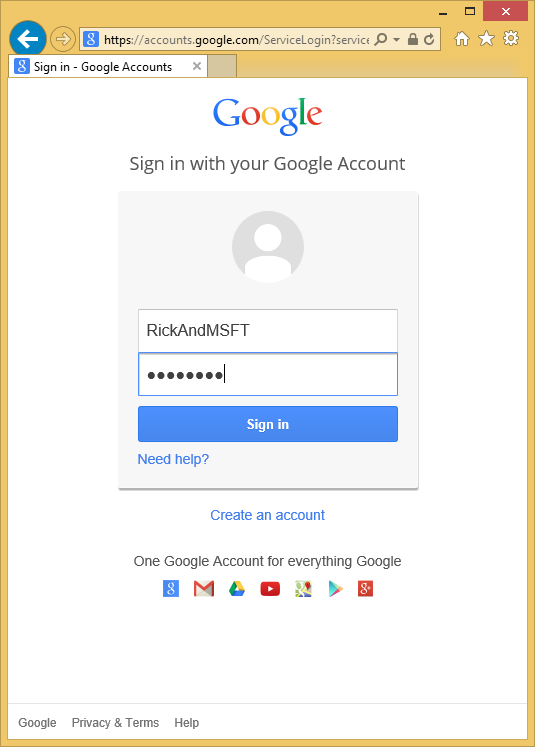
- After you enter your credentials, you will be prompted to give permissions to the web application you just created:
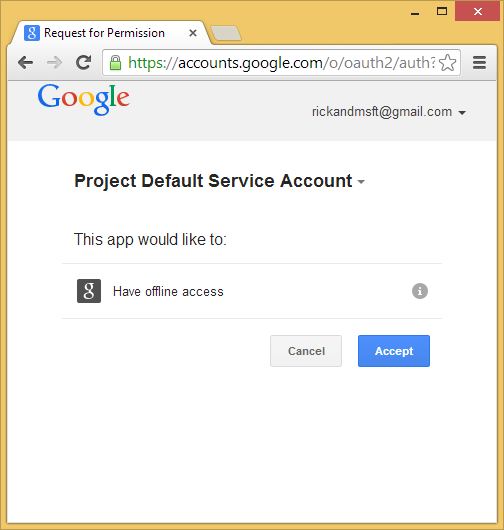
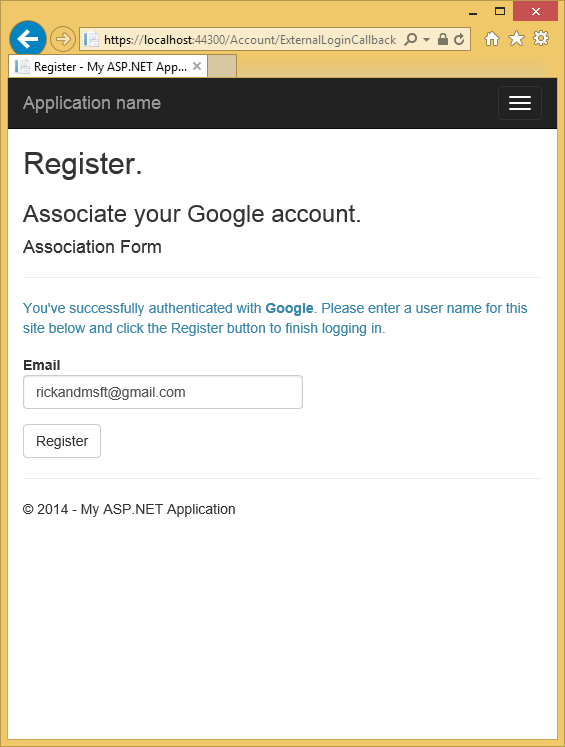
- Click Accept. You will now be redirected back to the Register page of the MvcAuth application where you can register your Google account. You have the option of changing the local email registration name used for your Gmail account, but you generally want to keep the default email alias (that is, the one you used for authentication). Click Register.


.png)
0 comments:
Post a Comment
Note: only a member of this blog may post a comment.